AMEC PLUMBING
Follow this step-by-step guide to replace your home’s plumbing trap, preventing sewer gases and ensuring a healthier plumbing system.

Image Caption
Replacing a whole-house plumbing trap is a critical yet complex task that skilled DIYers or professionals often undertake. This essential plumbing component blocks sewer gases from entering your home and provides a main clean-out access point. Over time, these traps can corrode or suffer damage, leading to issues with your home’s plumbing system. In this guide, we’ll walk you through the steps of replacing a whole-house plumbing trap, from identifying the need to safely installing a new one.
Understanding Whole-House Plumbing Traps
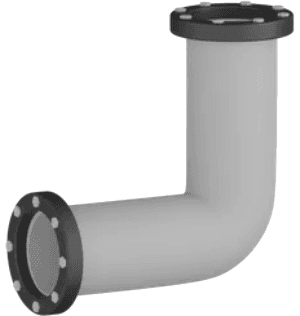
A whole-house trap, also known as a main or house trap, typically sits at the juncture where your main sewer line exits your home. It creates a water seal, blocking sewer gases from entering the living space. Common in older homes and specific regions, this trap plays a significant role in maintaining plumbing safety.
Signs It’s Time to Replace Your Whole-House Trap
Signs that your whole-house trap might need replacement include:
Persistent sewer odors around the house
Consistent slow draining across multiple fixtures
Visible rust or damage on the trap
Frequent backups in different parts of the home
Tools and Materials for Replacement
Before beginning, make sure you have the following tools and materials:
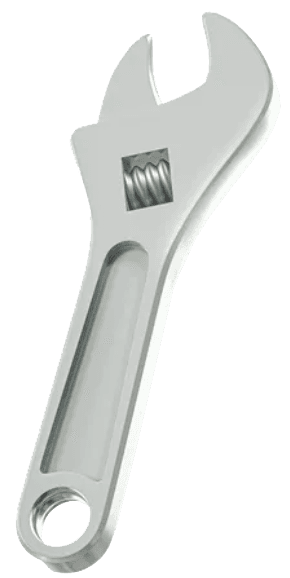
Soil pipe cutter
Sledgehammer (3 pounds)
Ball-peen hammer
Cold chisel
Tape measure
Torque wrench
No-hub couplings
Cast-iron pipe sections
Clean-out fitting
Angled cast-iron fitting

Additional Considerations for a Smooth Replacement
Safety Measures
Wear gloves, safety glasses, and ventilate the workspace to avoid inhaling harmful dust or fumes.
Check Local Codes
Ensure compliance with local building codes, as some regions require licensed professionals for certain plumbing installations.
Disposing of Old Material
Check with local waste services for guidelines on disposing of cast-iron pipes and other plumbing waste.
Tips for Success
Work carefully to avoid mistakes; check all measurements twice.
Confirm fittings are level and securely fastened.
Test the installation thoroughly for leaks and odors before sealing the area.
Final Testing
Run water through the system, and carefully inspect all connections for signs of leaks. Ensure no sewer odors are present to verify that the new trap is working effectively.
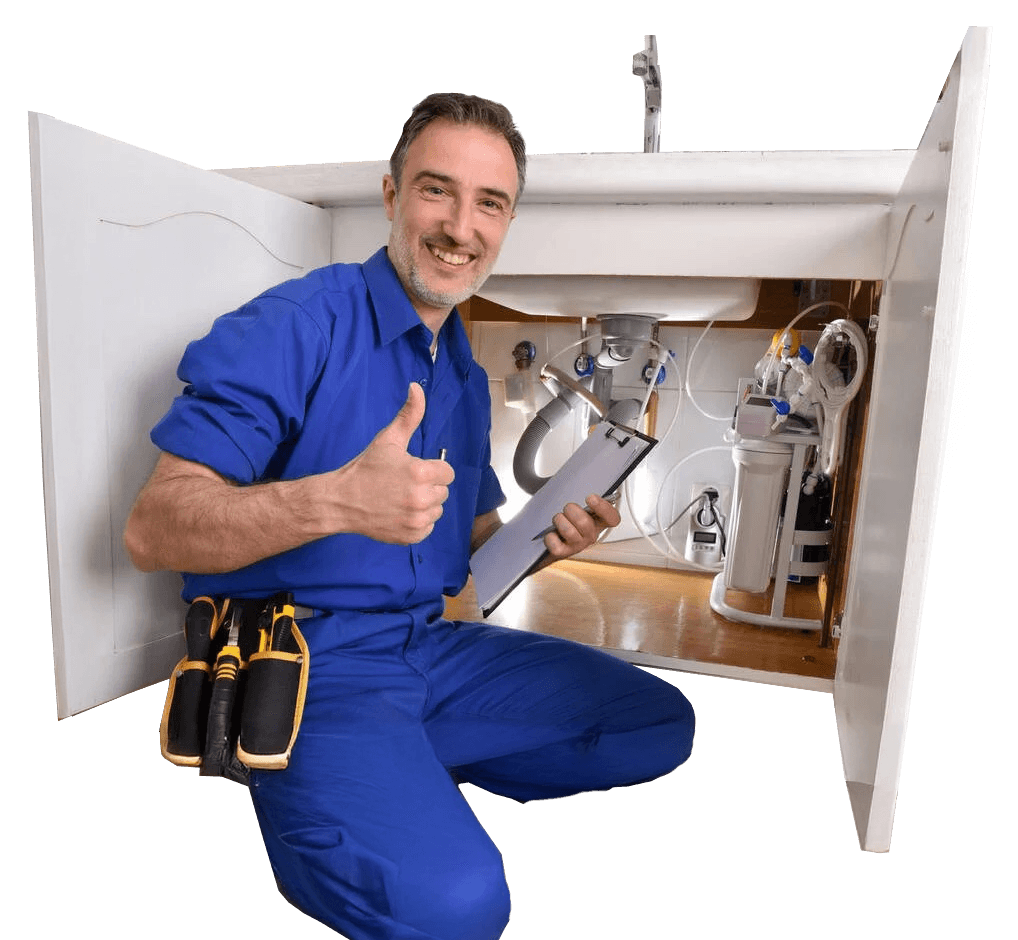
When to Call a Professional
If you encounter difficulties or lack access to specialized tools, reach out to a professional plumber to ensure the installation is secure and meets local regulations.
Replacing a whole-house plumbing trap can be a rewarding DIY task for those with experience and the right tools, but for guaranteed results, don’t hesitate to consult a licensed professional. At Ameca Plumbing, we offer expert plumbing services to ensure your system functions safely and effectively. Contact us today for assistance with your plumbing needs!